Playing with Global Illumination in C4D
I love raytracers, I’ve been playing with them since I code my first one in college, and more specifically, I love Global Illumantion algorithms (radiosity, photon mapping, final gather, path tracing, etc). I think its amazing how a simple scene with a couple of cubes and a light could become almost real if you use a good GI algorithm (and a good amount of rendering time). Today people love to use Ambient Occlusion as a way to give depth to the scene, but I hate AO, its just not real at all, and it gives this dirty look and feel, however, a good GI solutions gives much more depth and visual quality.
When I coded my first raytracer I started playing with some illuminations techniques to improve the overall quality, I tryed photon mapping but the results were a little bit ugly due to my sampling function. Now I just enjoy playing with the raytracers included in some important 3d software packages, like Cinema 4D.
Click in read more to know how the image was done.
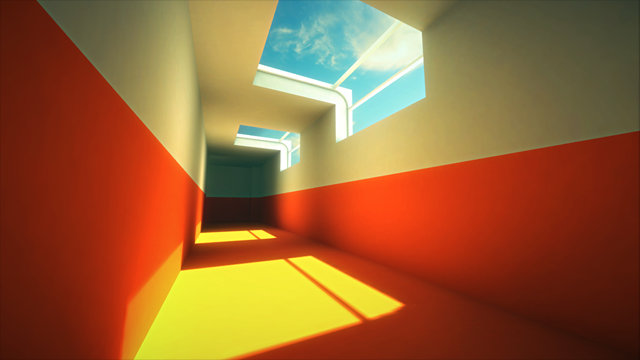
I still think that most games would look far better if they used baked lightmaps generated from GI solutions instead of regular phong lighting. Game’s like Mirror’s Edge looked amazing thanks to the lighting software Beast, now part of Autodesk. The light bounces give always that warm feel on the rooms that even being a little bit overdramatic still makes the images gorgeous.
Today I was trying Flip’d, this great entry on the 7 days FPS contest that replicates the game mechanics of VVVVVVV but in 3D, and the most enjoyable thing were the visuals, mostly because he used a nice GI solution baked in the lightmaps, giving it the look and feel of Mirror’s Edge. Surprisingly, he used Beast as Mirror’s Edge, but inside Unity Pro (I think it comes by default with the Pro version).
I tryed to replicated the sames results in Cinema 4D playing with the GI options which are really easy to use in comparison with the same options in 3Ds Max or Maya. You just need to enable the global illuniation inside the render options.
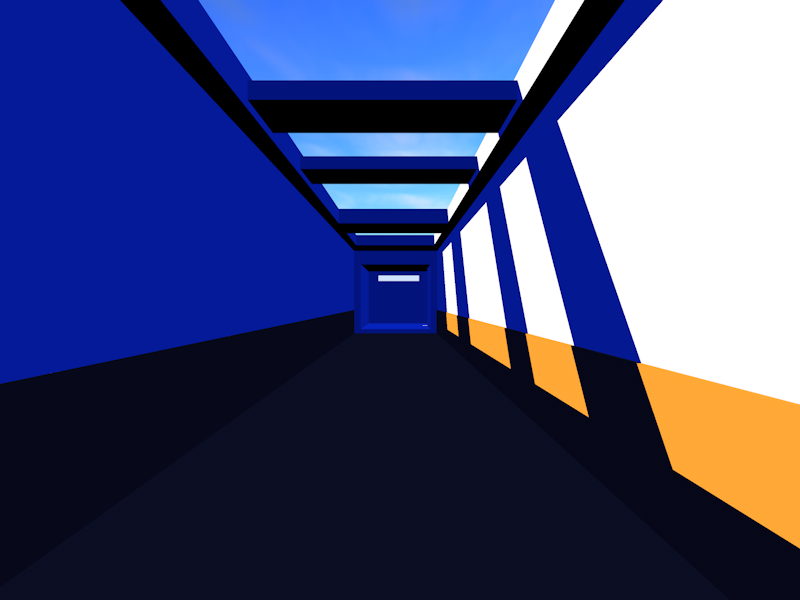
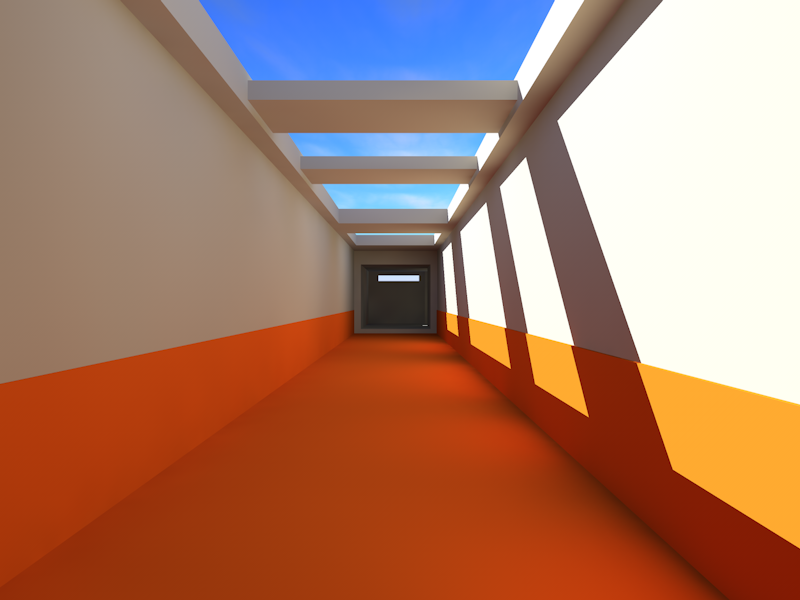
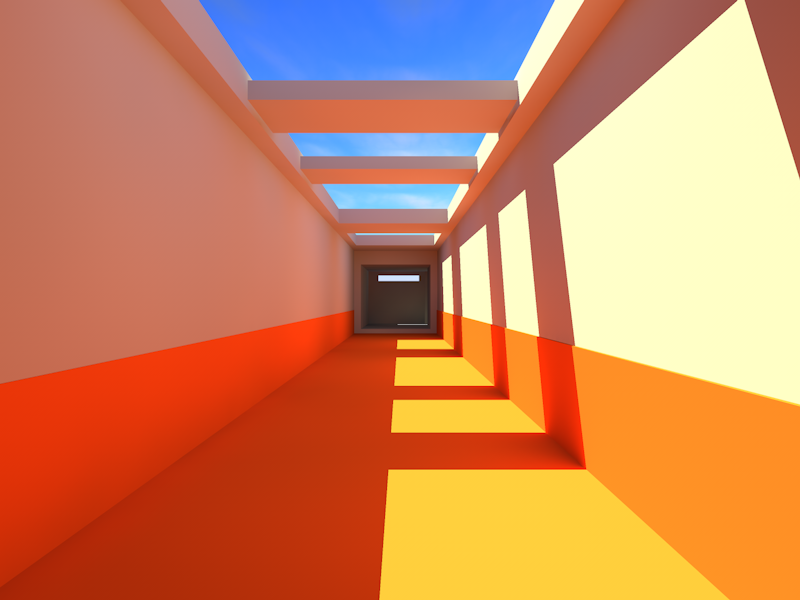
First I created a silly room using boolean operations with some windows from where the daylight could enter.
This render usually look horrible, with a total lack of depth, where the surfaces look flat and synthetic.
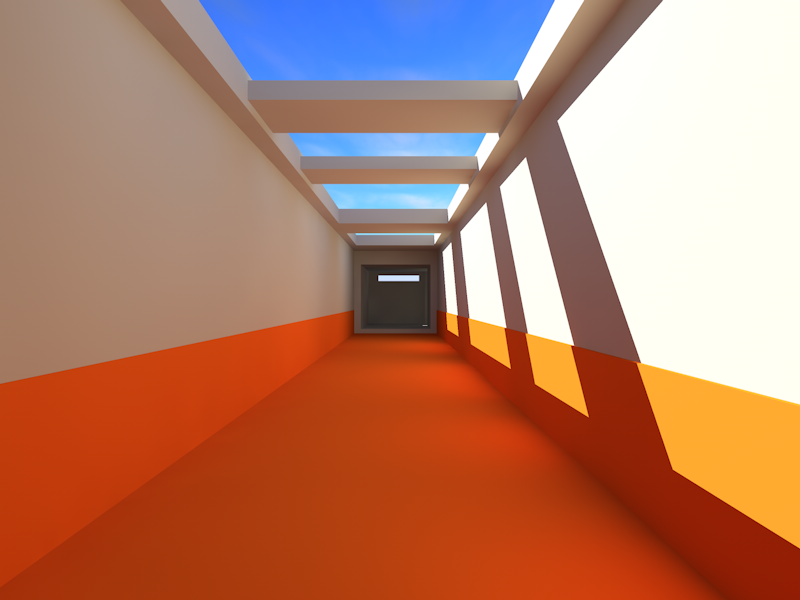
But when you enable the Global Illumination option with just one bounce, the results are way better.
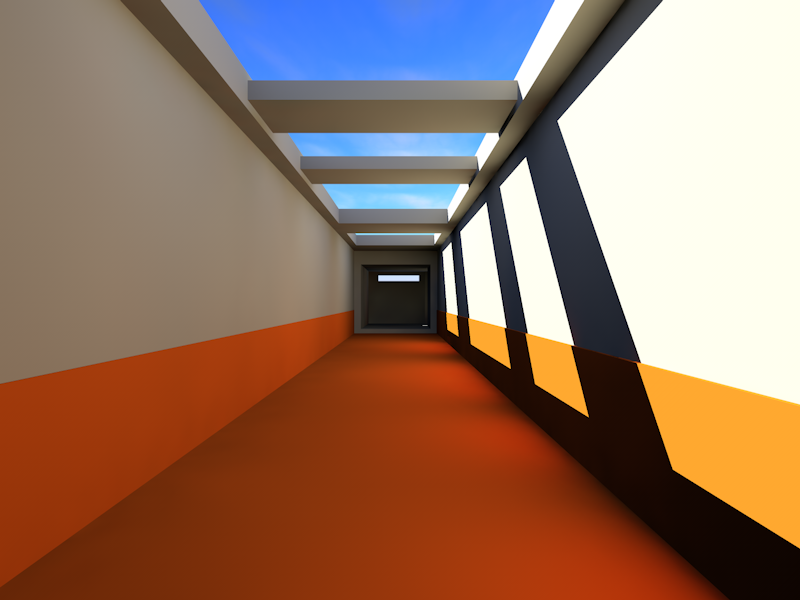
I think its amazing how it passed from a low quality 3d image to an almost realistic image just enabling one option. But there are still some errors, for example, the shadows on the right wall, they are too dark, so we add more bounces (and more rendering time…).
And the quality is mutch better, but we still add another one to solve the defects on the lower right corner of the corridor.
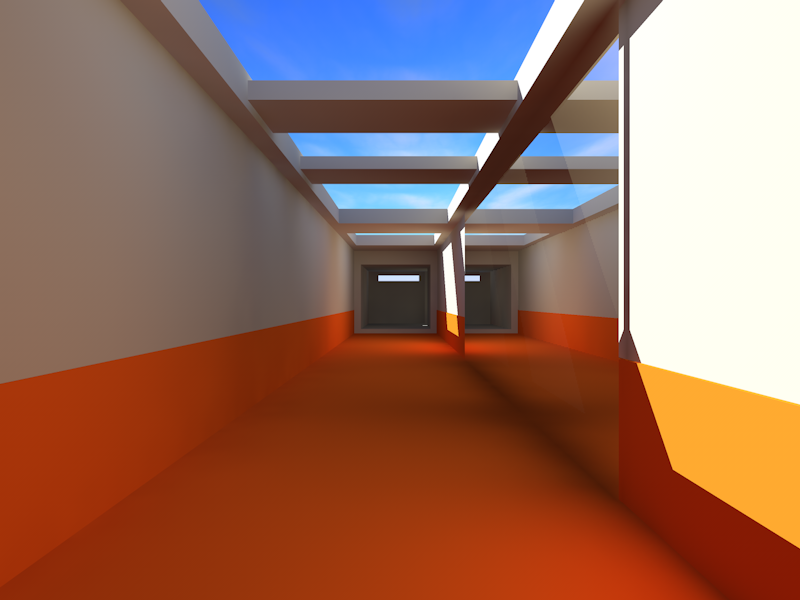
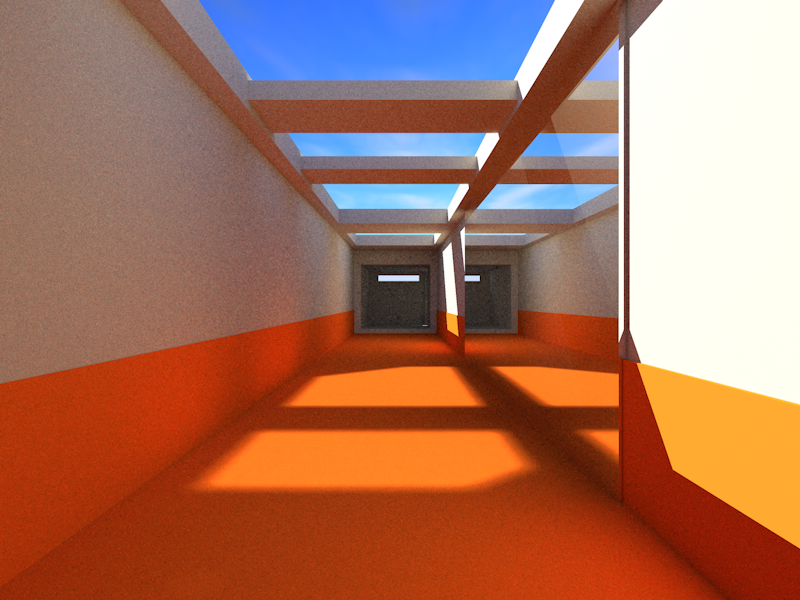
I wanted to see how the scene will look if instead of a regular wall there was a mirror.
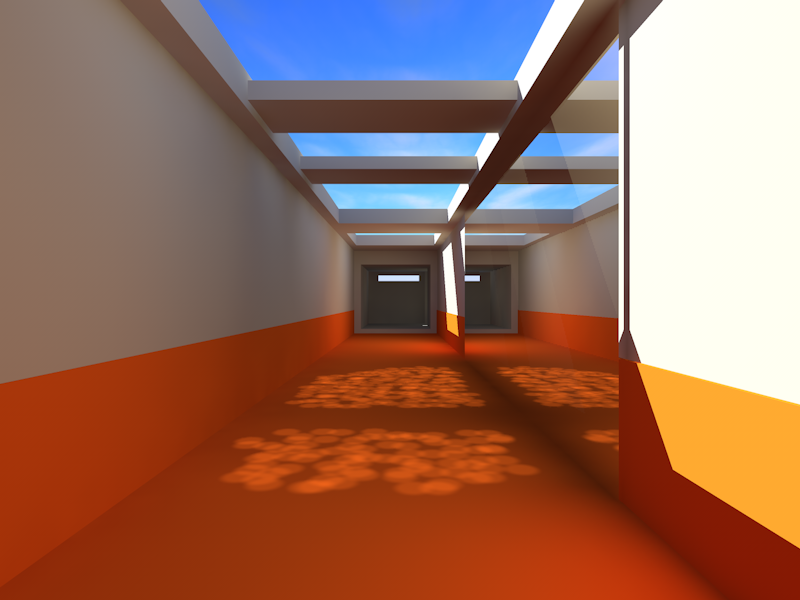
The problem with mirrors is that the GI algorithm doesnt see the mirror as reflective, just as a diffuse surface, so the light doesnt bounce on it. We can solve that adding caustics but the results are not exactly what I would expect.
So we increase the photons and the intensity of them.
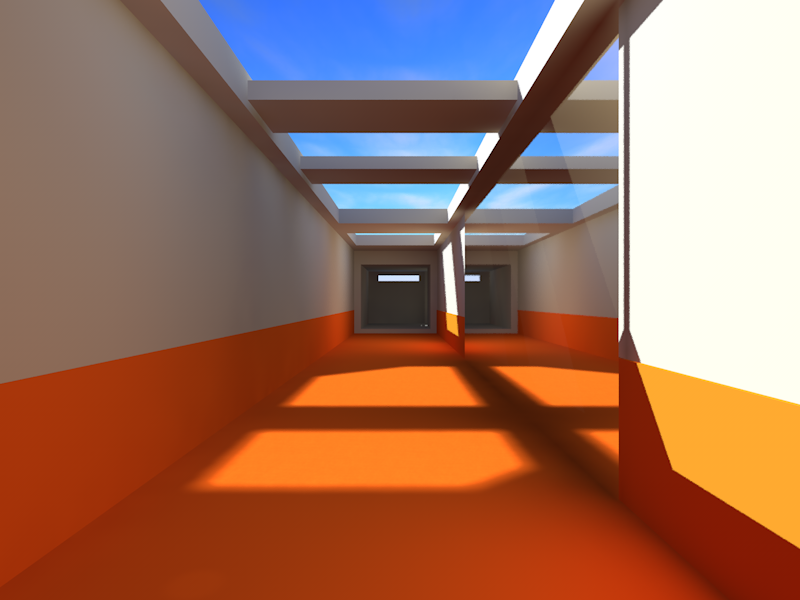
But there still a problem, the caustics are computed after the GI, so the caustics do not generate GI (you can see how the left wall doesnt get more light from the reflection on the ground.
To solve that you have to switch to another GI solution in Cinema4D like QMC, but thats really slow and produces lots of noise if you do not use enough rays.
Here is a the final version with the quality set to the maximum. I think it looks pretty nice.
The next step is to bake this lightmap in to a texture. Cinema 4D have a really easy baking tool but without too many parameters to control.
In my next post I will try to baked it and put it in a small WebGL application so you can see the results in real time.
 Sunday, June 17th, 2012 @ 12:30 pm


September 27th, 2015 at 5:21 am
Nice comparison – I would’ve liked to see four or more bounces for the original scene.
April 12th, 2017 at 4:41 am
this image is actually the distinctive! http://Familiarspots.com/groups/who-requires-mobile-phone-insurance/