Hackpact Day 2: Input and Render Texture
Thursday, September 3rd, 2009For today I expected to clean a little bit more my code, it is growing fast from the skeleton I started and I don’t want to have to refactorice everything in a couple of days, but damn, I always end up wrapping stuff instead of using it so for this project I will focus on having the essential features.
First I wanted to add a simple wrapper to RenderToTexture features of OpenGL. The reason is that once you have shaders and RenderToTexture you can achieve lots of cool algorithms, specially the postFX algorithms.
To do PostFX you want to be able to apply an algorithm to every pixel on the screen after you have rendered the scene, but OpenGL was thought more to render primitives on the screen (lines, triangles, and so). Then the old way to do PostFX to the final image was to download from the Video Memory the frame to the RAM, then using the CPU apply the algorithm, then upload it again, but that was far too slow and CPU consuming (and using Python thats MADNESS!!)
The cool way is using shaders and RenderToTexture combined. How? Well, Shaders allow to execute an algorithm for every pixel of the primitives we draw, not enough, because we want to read the previous pixel, apply the algorithm and store it in the same place. So the trick goes like this, we render the whole scene in a texture, then we render that texture in a quad filling the whole screen but with a shader with our PostFX algorithm activated.
So the shader is going to be executed for every pixel on the screen, and we can have the pixel in that position as an input to the shader. The result will be store it in the same pixel. Easy!
We can achieve nice effects like color balance, combine different images, blurs, edge detecting, etc.
So let’s start wrap a Render To Texture in a class, the interface should be simple, something like this:
- constructor where you choose Width, Height, Depth (and in my case some other flags)
- enable which redirects the rendering to our texture instead of the screen
- disable to restore the rendering to the screen
- bind to bind the resulting texture
- render to render the resulting texture as a quad to the screen
So after some work I managed to have everything working. Some interesting thoughts about it:
- Working with OpenGL in Python is easy, even some old OpenGL API functions have been wrapped in a more helpful way, for instance glGenFramebuffers in C++ you have to pass the reference to the variable where you want to store the Id of the FBO, but in Python it just returns it, thats nice.
- I had some problems when it comes to passing to OpenGL memory address, for instance if you create a texture and you want to initialize it with something. I don’t know how to do it, I have seen examples using Numpy but I just skipped that part.
- OpenGL usually never crashes, but those functions that expect a pointer… you better take care of them, because if you miss the address they will crass the application, no Python exception will catch that.
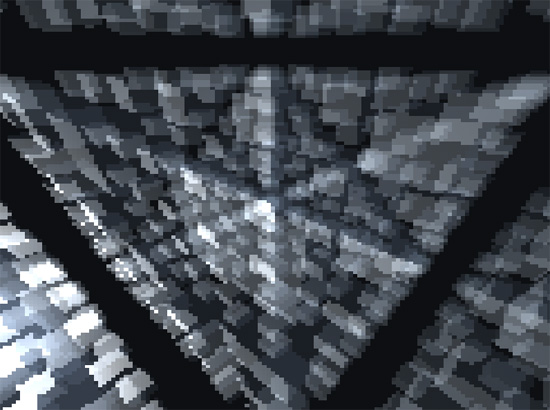
The best way to test if your Render To Texture works fine is to render the whole scene to a low resolution texture and show it to a full screen quad. You should get some pixelated results (if you disable filtering), here is my proof:

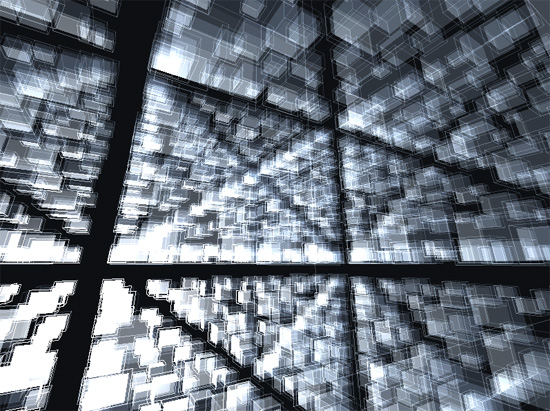
Once I have the Render To Texture results I could create a PostFX shader but I will do that tomorrow. For today I better play a little bit more with the scene I’d got from Bastiaan adding some input and cool effects like changing the size of the cubes depending on the distance to the light source.
If you want to test the application (I won’t suggest it in the early stages because there is not too much interesting stuff unless you want to know more about Python and OpenGL) here are the keys:
- 1 to 4: enables different effects (blend, rotate cubes, sphere shaped, edges and RenderToTexture)
- Space and Backspace: to move the camera back and forth
- Keypad + and – reduce the dimensions of the voxel
- ESC to close it
It is nice to use pygame underneath because it is a wrapper of SDL and I have been using SDL for years so most of the features of SDL are exposed with similar names and interface but in python. For instance, I wanted to use the time increment to move the objects instead of the frame number, this is important to have a constant movement, otherwise it moves faster when the scene is emptier (when the framerate is higher).
I also added a small bar at the botton to show the framerate, I don’t know how to render text (I probably will need to use another module…) so I just draw a line from left to right, where right means 60fps and left means 0fps.
I also made some small optimizations to the Bastiaan code, nothing to be ashamed for, just ensure all the faces of the cubes were clockwise so I can enable back face culling.
If you want to test it the files are zipped here: hackpact day 2

